Overview
This tutorial will walk you through the entire workflow for submitting a DevNote. This tutorial is broken into three sections.
Creating a DevNote project from the standard template
Populating the DevNote with content
Reviewing and submitting the DevNote for display
This tutorial assumes the following:
It assumes that you have access to Nucleus Hub and are familiar with its basic features.
Have a Curvenote account.
Have an ORCiD.
If you do not have these things please see the Tutorial: getting started with Nucleus Hub.
Creating project from template
From the Launcher window select the button “Create” in the “Developer Notes” toolbar and follow the dialogue:
Enter a directory name for the DevNote:
templateProject title:
My first projectSubtitle:
My first subtitleDescription:
My first DescriptionAdd author(s):
[YOUR ORCiD]Keywords: Hit
[Enter]to skipWould you like to start a local server now?
nExit the terminal and return to the Launcher Window
Preview your DevNote.
In your file directory, navigate to the directory
/devnotes/templateit should appear like this.While you’re in the
devnotes/templatedirectory, click the button “Preview” in the “Developer Notes” toolbar of the Launcher window.You will likely see an error message. That’s ok.
Open the file
main.mdin your directoryCreate a split screen by dragging the “Preview” tab to the right corner of the screen.
Make an edit, say to the level 1 heading, e.g.
#Background - edited. The preview window should automatically refresh and you should now be able to preview any updates to your DevNote in realtime.
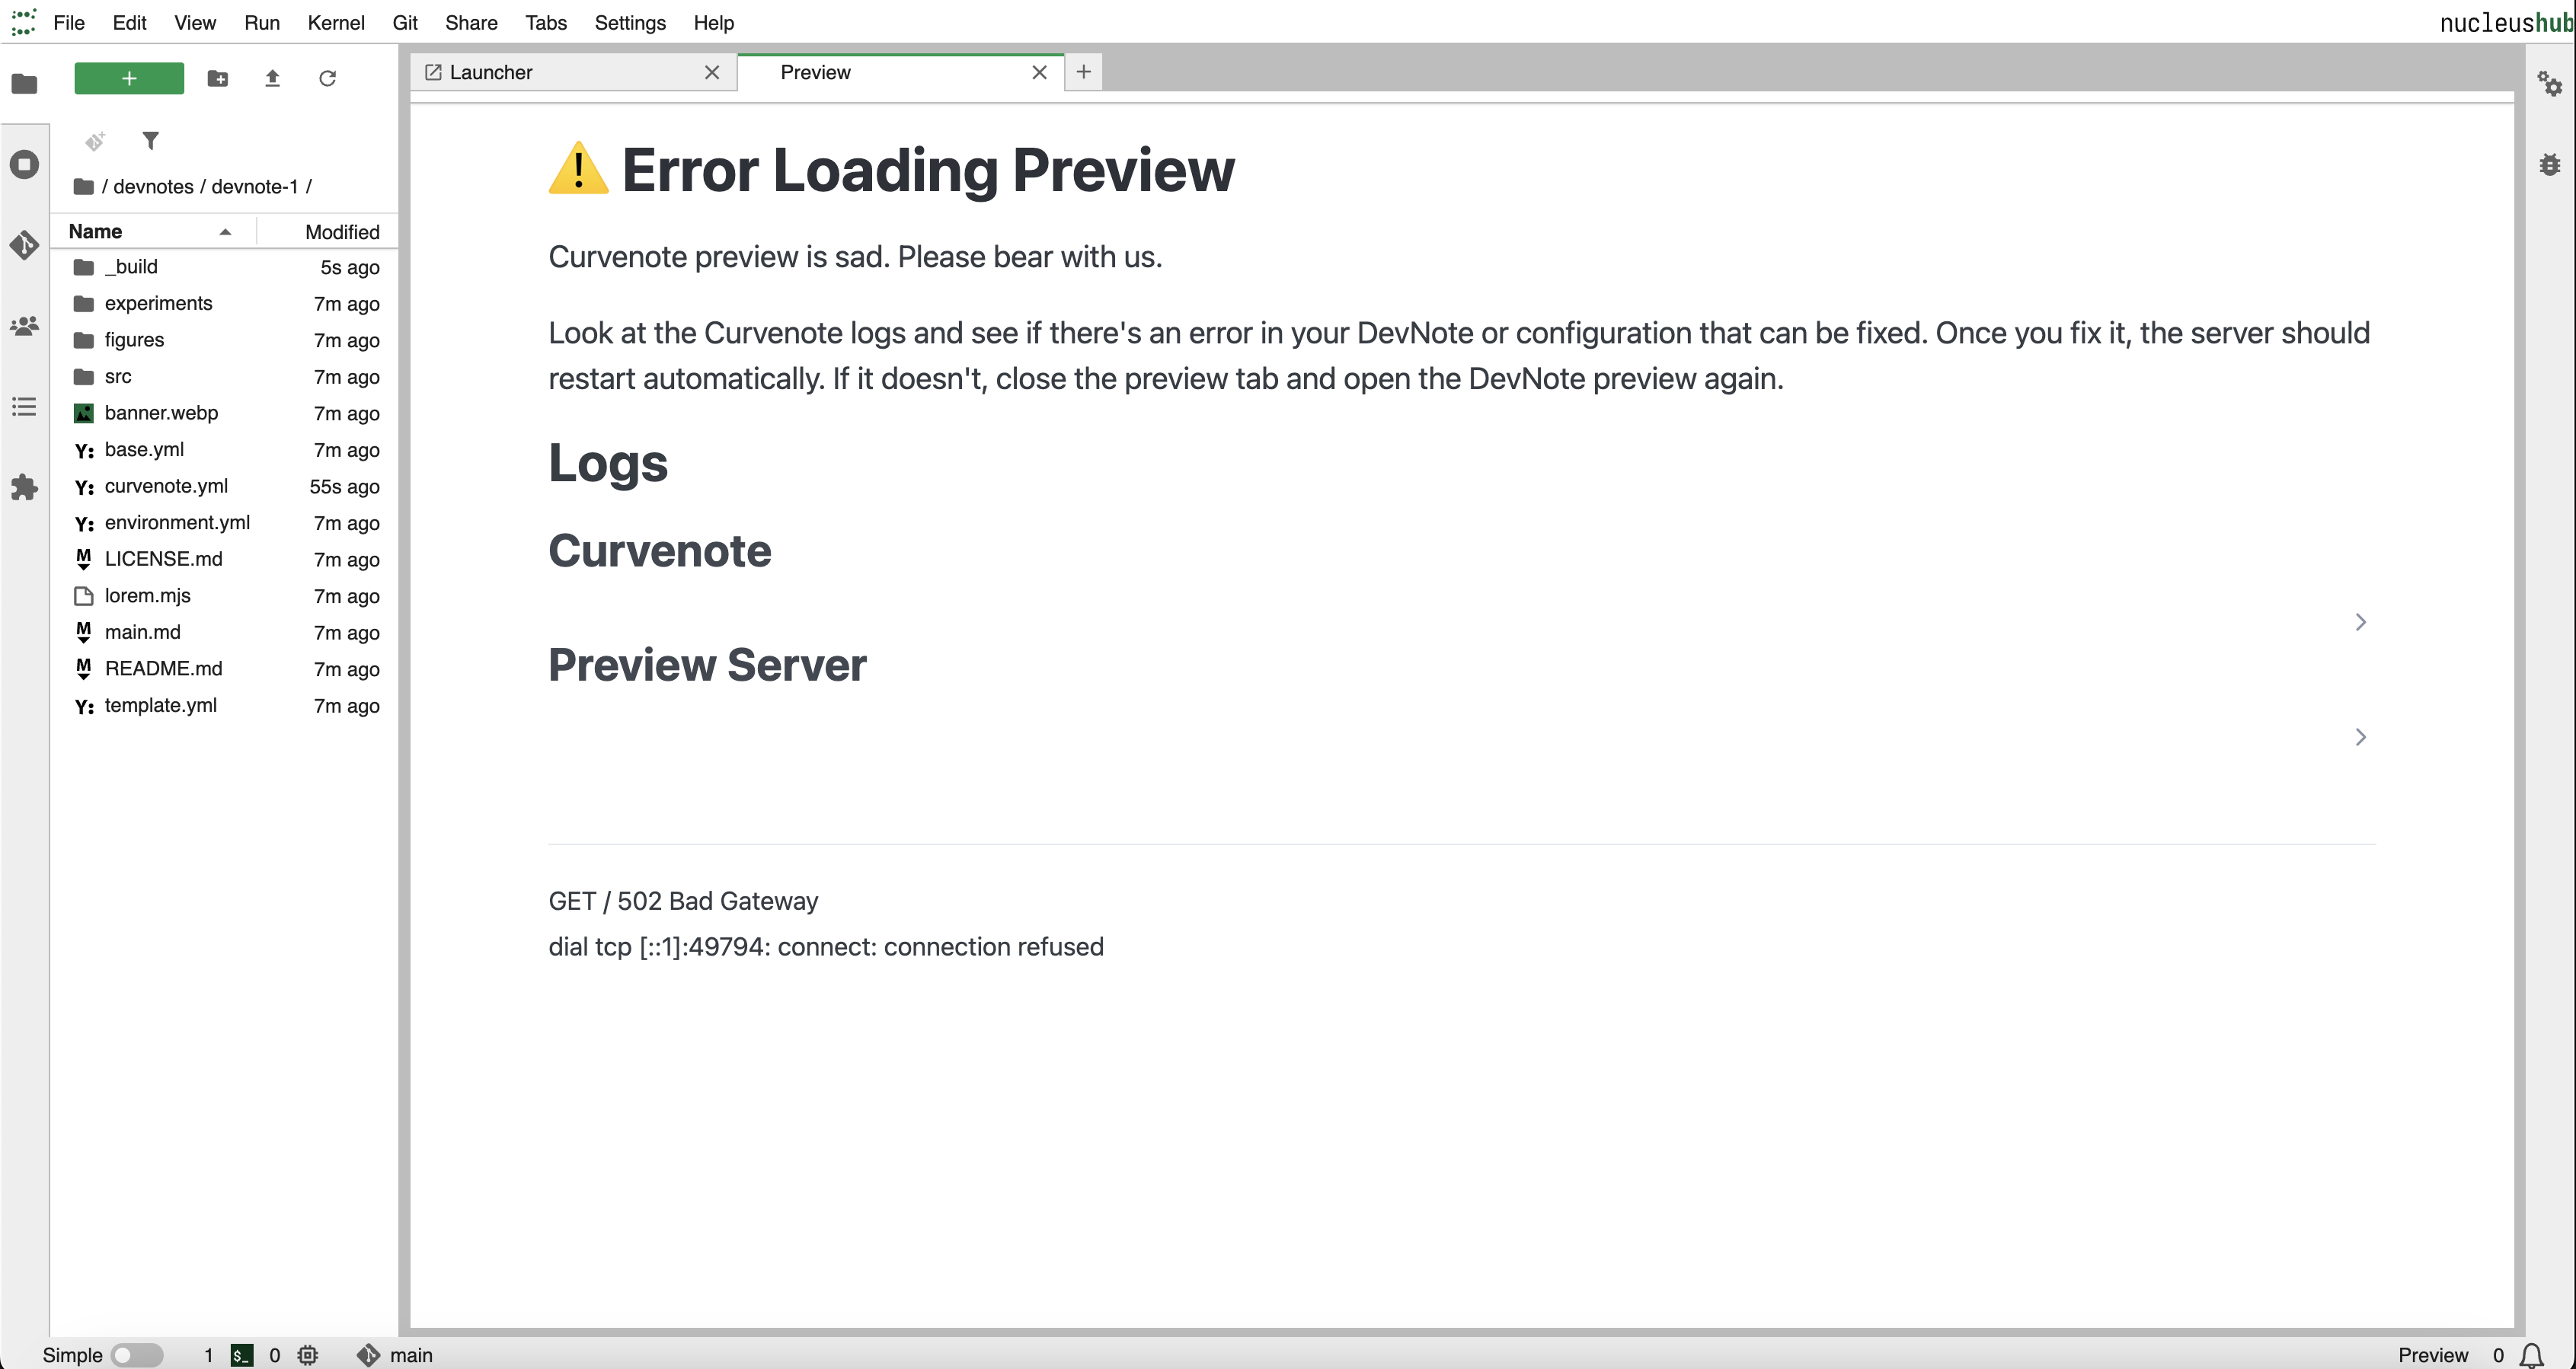
Figure: This is my caption

Figure: This is my caption
Authoring the DevNote
The DevNote template contains documentation describing how to author your first DevNote. Please take a look at the README.md and main.md which contains the markdown of a DevNote that describes how to make a DevNote.
Review and submission
When you’re DevNote is ready for submission, you can preview how it will look on the Developer Notes site:
Preview DevNote on deployment server
While you’re in the
devnotes/templatedirectory, click the button “Preview” in the “Developer Notes” toolbar of the Launcher window.Click the URL link at the end of the terminal output.
Submit DevNote for posting
While you’re in the
devnotes/templatedirectory, click the button “Submit” in the “Developer Notes” toolbar of the Launcher window.Someone from the Nucleus Core developer team will be in touch with you soon.